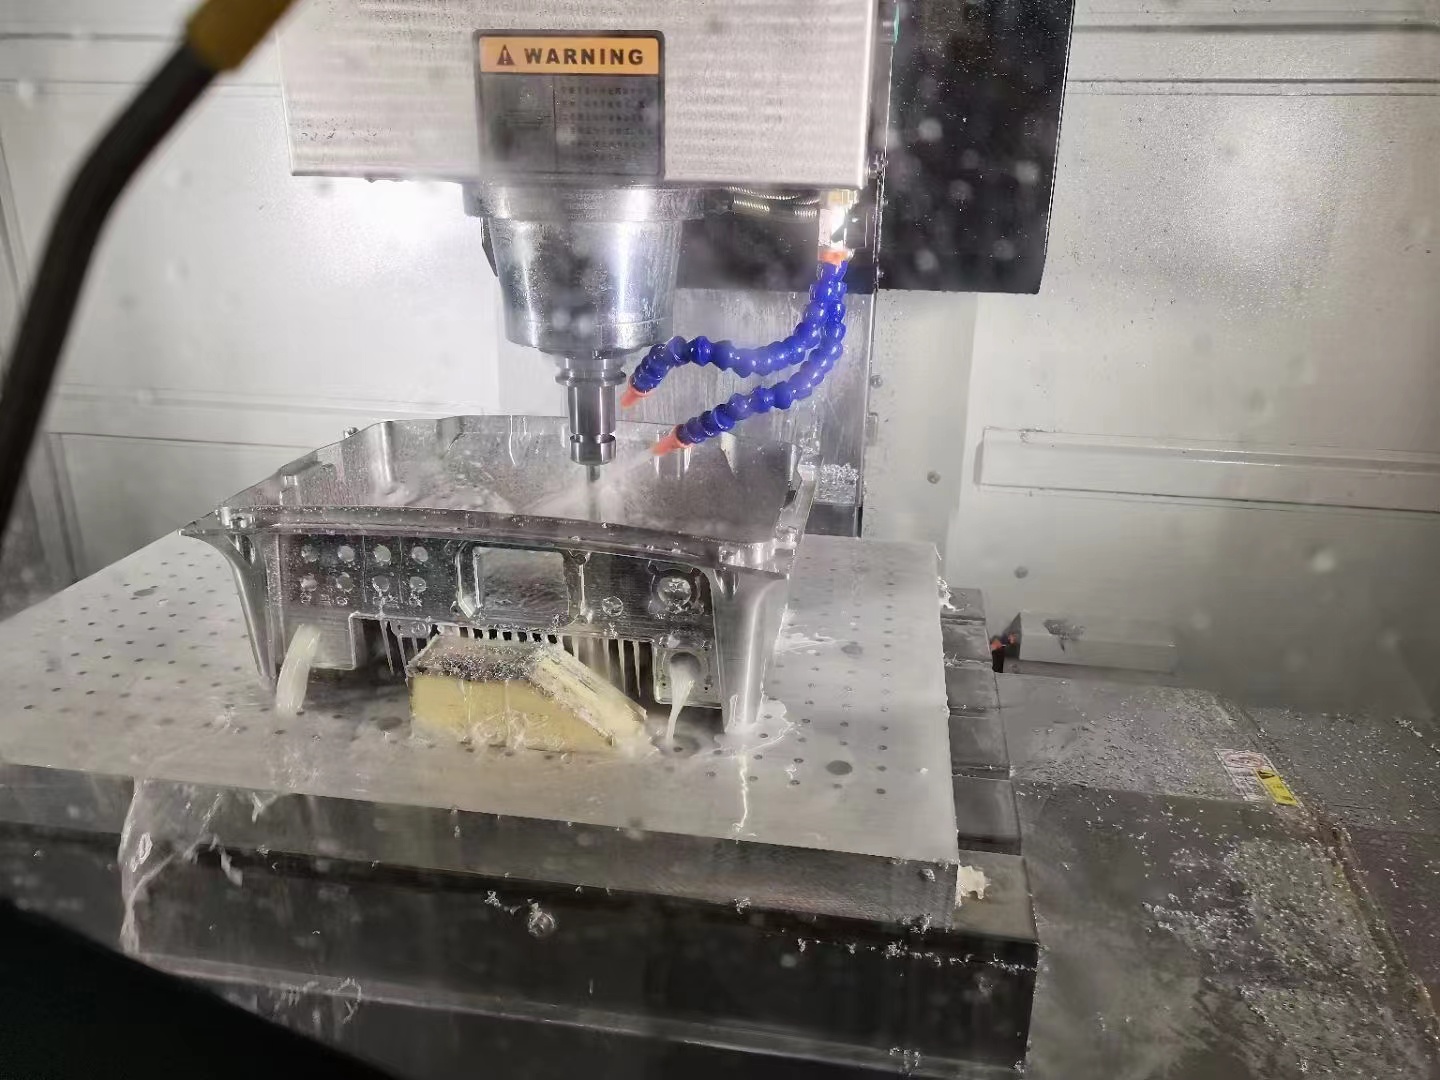
The basic price calculation formula for CNC machining would be “Material cost + machining cost + finishing cost + inspection cost+ Packaging cost”. Sometimes inspection cost is included in machining cost by default. You might not see inspection costs until you ask for a CMM report or a 3D scanning report for all sizes of a certain quantity. If you don’t require pallets, Poly-wooden boxes, or complex packaging solutions, we can always ignore the packaging cost. When we understand how factors impact each section, then we will see how we can reduce CNC machining costs.
Material cost
It’s quite simple, the more you order, the cheaper the unit price of the material is. Apart from material markup, you should know sometimes the material unit price is changing day by day, that’s why the price is different compared to what you got last week. If you don’t have a special use, take Al6061 for your metal prototypes. It’s the most commonly used metal here, in another word, it’s cheap. For plastic please take ABS.
Picture of Al price from www.cngold.org
Machining cost
Machining cost is positively correlated with machining time and hourly cost. The setup time(Programming, cutting the material, set the machine & fixtures &datum ready)is calculated into the machining time as well. The longer time it takes to machine a part, the more you spend. And the hourly cost of 5 axis is obviously more than the 3-axis CNC machine, hourly cost differs from 9.5USD to 16USD or more in China if calculate inspection time in(of course you won’t see this on the table), so make your design as simple as possible.
Finishing cost
For special finishes such as anodizing, plating, electrophoresis, PVD, etc, the parts are sent to a local finishing supplier which normally requires a starting price like 50USD or more. And there is always some waiting time if the parts are not large/heavy or in low volumes. So ordering more is always a good practice for you to reduce the unit price.
Here are some tips to help you design simple parts.
1. Add radius to internal corners. No straight corners. The smallest radius is normally R0.25, however, if the depth is over 3mm, then R0.25 is not practical. Here is a general sheet for you to see the relationship between depth and radius when it comes to radius plastic and Aluminium parts. Because steel is too hard, the max depth will be half of Aluminum's.
2. Reduce the number of Setups. The processing procedure is from Shape to detail, from inside feature to outside surface. As long as there is no need to change different drill bits or cutters, the manufacturing time is obviously less than too many different details/faces to be taken care of.
3. Loosen tolerances where possible. Higher tolerances mean higher scrap rates and higher risks, eventually, it points to higher costs. Our standard tolerance for metal parts is ISO2768-F and ISO2768-M for plastic. However we can hit a tolerance of +/-0.01mm if you require for metal parts.
4. Keep all features perpendicular to 6 sides. In this way, no need to design and make fixtures for your part, and fewer setups as well.
5. No deep pockets and teeth features. Please refer to table 1, if the depth is out of the max depth of the drill bits, our blade cannot go down, in this way, we have to make copper electrode and apply EDM machining for deep pockets in metal parts, apply wire cutting for teeth features in metals, which results in longer manufacturing time and extra costs.
6. No thin walls. Thin walls risk warping and affecting the accuracy of the part. I would recommend a wall thickness larger than 0.8mm for metal, 1.5mm for plastic.
7. Avoid Multiple Finishes. Multiple Finishes add more waiting time and starting prices, also are with higher failure risks. If you want to save costs, I would suggest parts to be as machined.
8. Split the part in 2 or more. When there are necessary undercuts or deep pockets or complex faces, we can split it to manufacture, in this way, no need to apply 5 axis machining or EDM or custom-made fixtures. It’s easier to glue plastic parts and weld metal parts.
9. Standard threads if possible and keep thread length 3x the hole diameter. We can accommodate and cut metric threads, imperial UNC, UNF, and pipe threads among others. When it requires us to order custom-made tools to cut the thread, obviously this shall drive the cost up.
10. Choosing the right manufacturing method. For 5 or more plastic parts, if you are not sensitive with the tolerance or materials, you can either print them(when it is light) or cast them ( when it is heavy) in silicone molds. For over 100pcs plastic parts, then go ask our rapid injection molding department. For over hundreds of metal parts, go for a die casting solution, please.
11. Order large quantities if you still want precisely machined parts. With production machining, it makes sense for us to spend time and invest in manufacturing proper jigs and fixtures and to automate a lot of the process. With prototype machining, I am afraid it does not usually make sense to do this.
If you wanna discuss your next CNC prototypes, feel free to drop us an email at info@rm-mold.com
 RM Mold